From Sketch to Reality: A Step-by-Step Design Consultation

At The Chesterfield Shop, our mission is to make your vision for your home come to life. Whether you're revamping a single room or transforming your entire home, our design consultants are here to guide you every step of the way. Today, we’re excited to share the story of one of our wonderful clients, Camilla, and her experience working with our talented design consultant, Sandra.
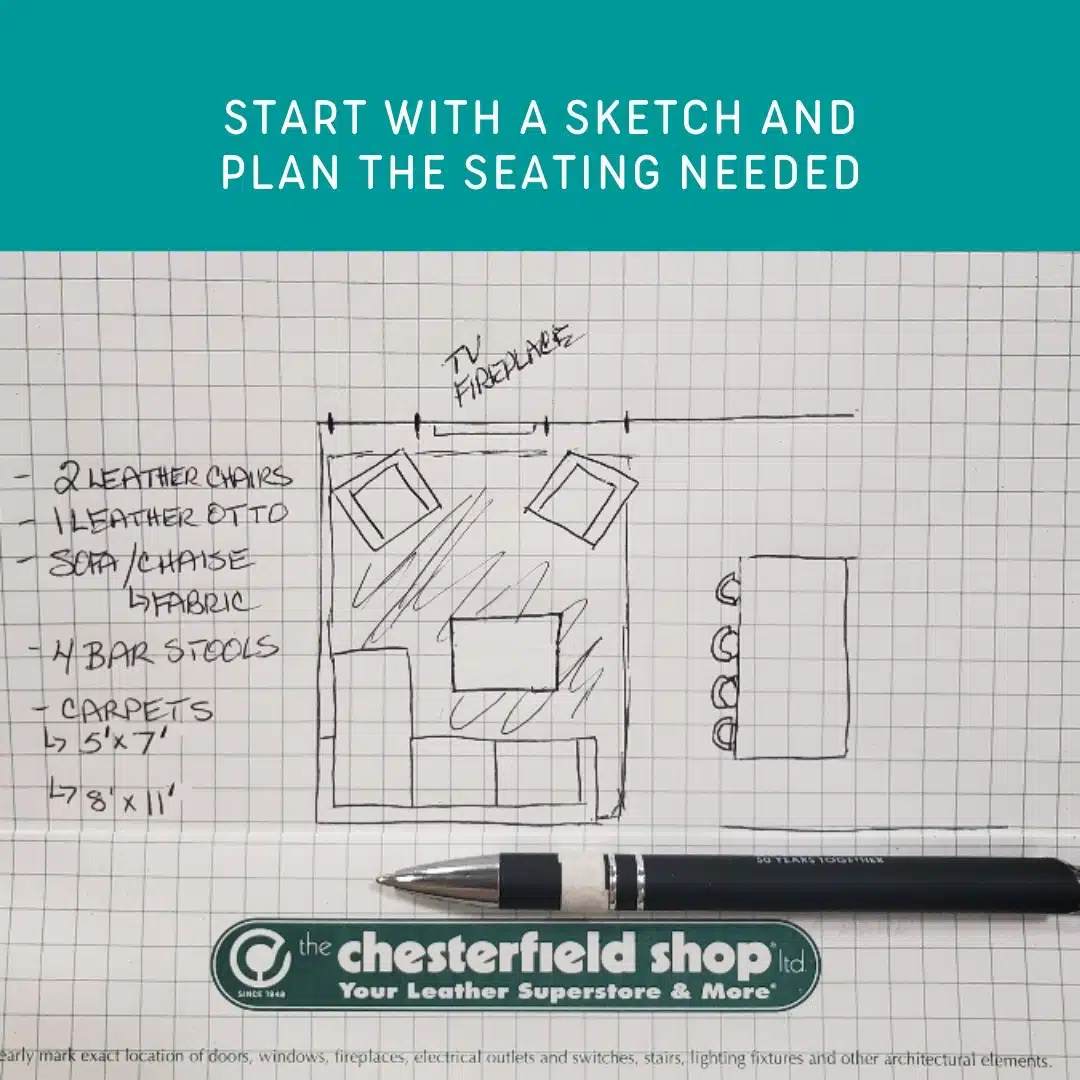
Step 1: Initial Layout and Vision
Sandra’s journey with Camilla began with a rough sketch of her new home’s layout. By understanding the dimensions and flow of the space, Sandra was able to craft a detailed plan that reflected Camilla’s vision. This preliminary sketch was then transformed into a 5D planner, a powerful tool that allowed Camilla to see a more realistic representation of her future space.
Step 2: Choosing the Perfect Pieces
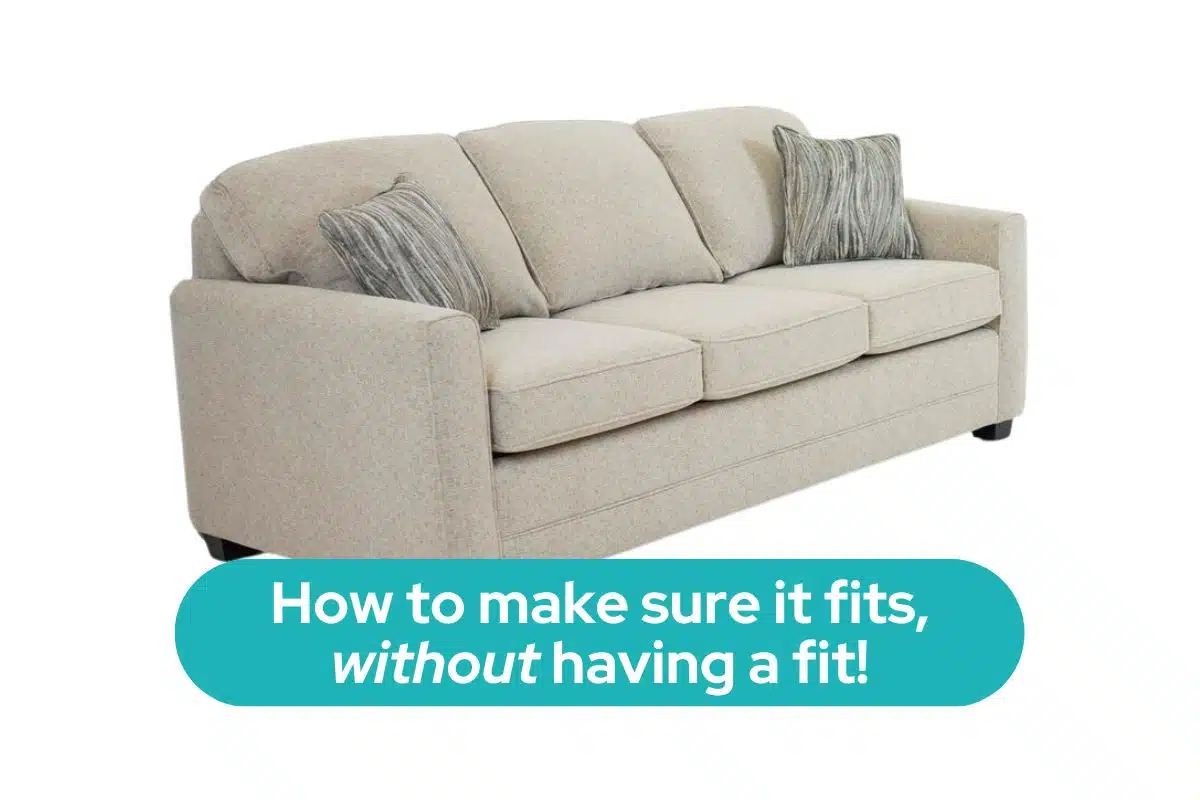
With a clear layout in mind, Sandra and Camilla selected the perfect pieces of furniture for the space. They chose a stylish sofa and chaise, complemented by elegant chairs, an ottoman, and bar stools that perfectly suited Camilla’s needs and preferences. Each piece was carefully selected to ensure it not only fit the space but also enhanced its functionality and aesthetic.
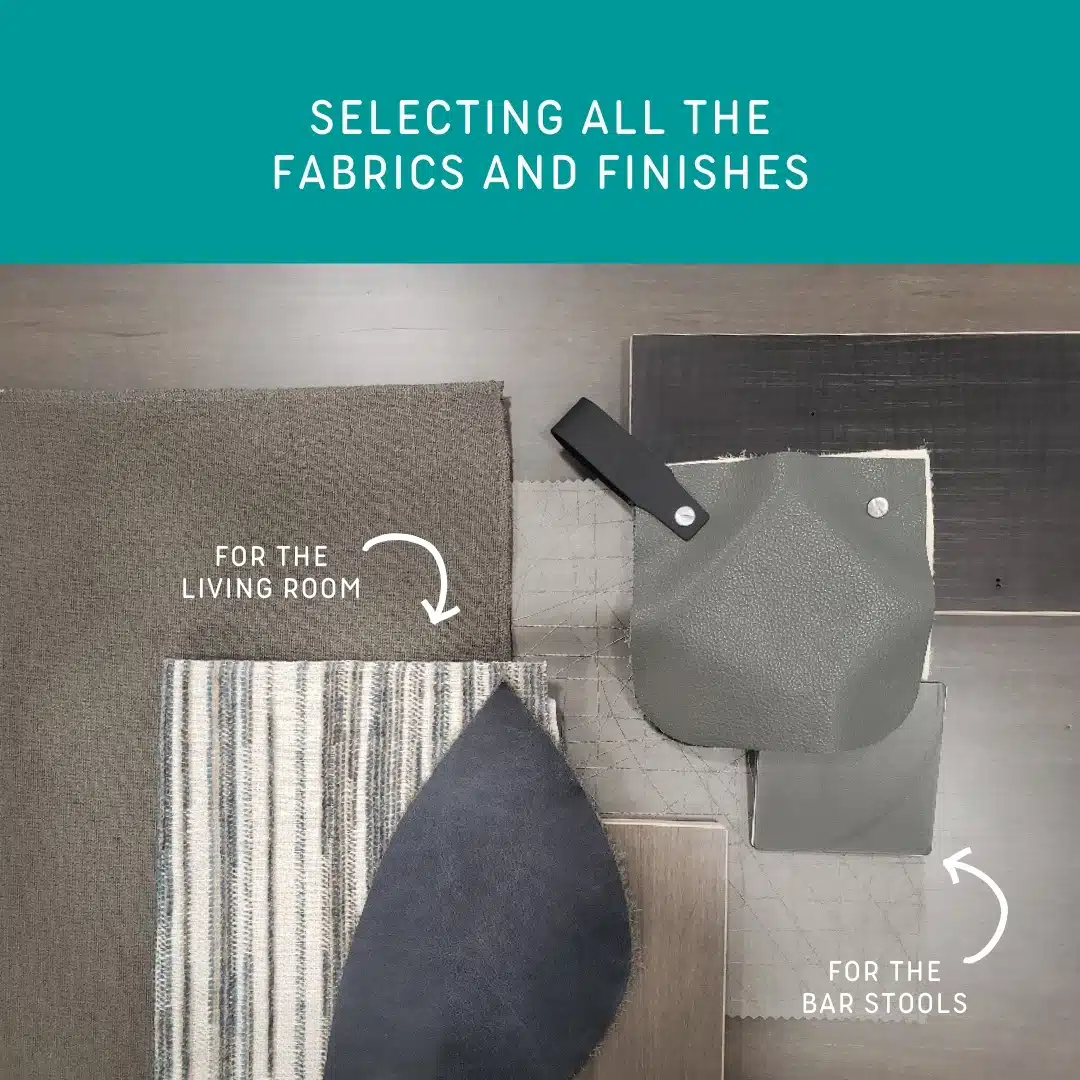
Step 3: Coordinating Fabrics and Leathers
Once the furniture pieces were chosen, Sandra guided Camilla through a diverse selection of fabrics and leathers. This step was crucial in coordinating the overall look of the room. Sandra’s expertise helped Camilla pick out the perfect materials that matched her style and complemented the furniture, adding a touch of elegance and cohesion to the space.
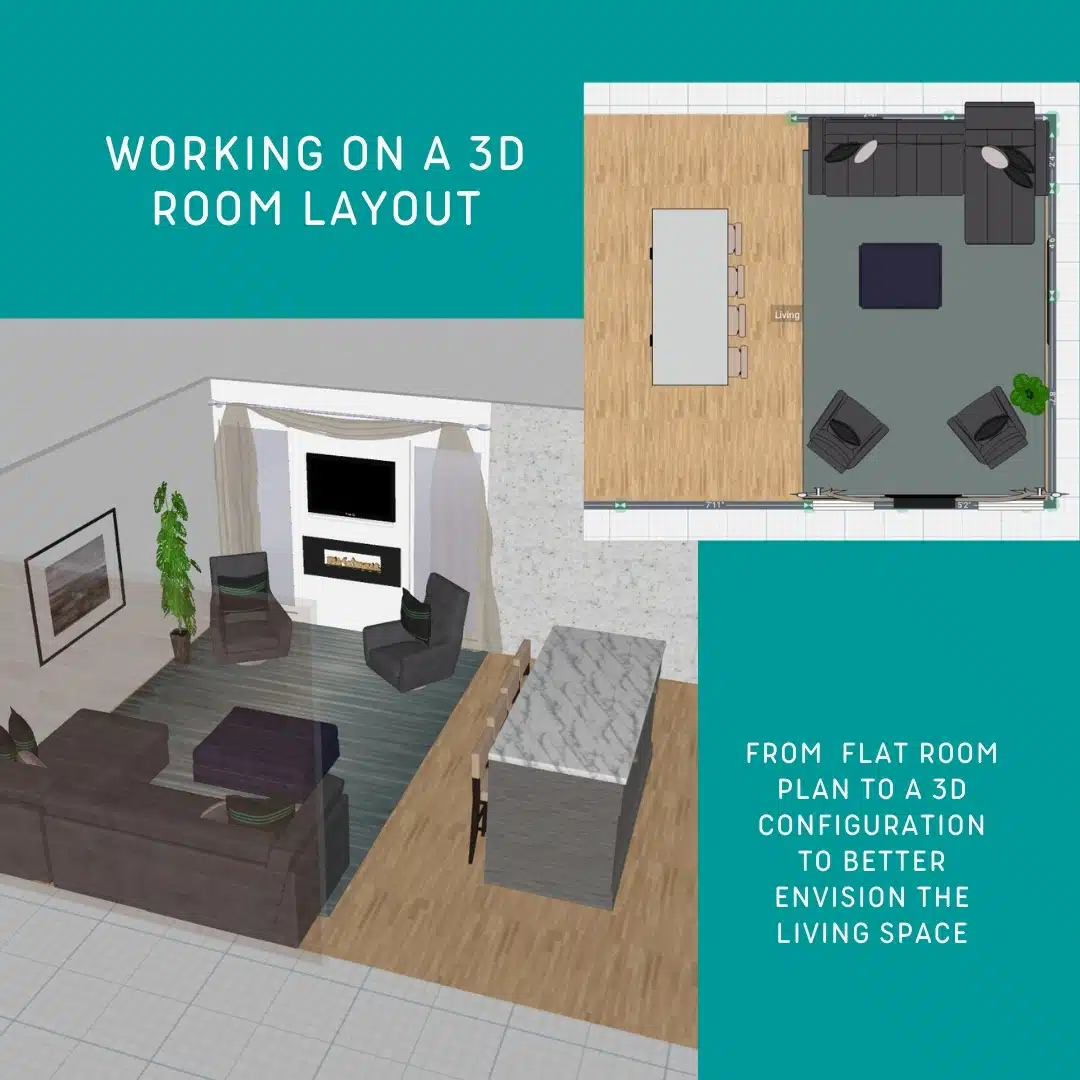
Step 4: Visualizing the Space with 3D Room Configurators
To help Camilla visualize the space more effectively, Sandra utilized a 3D room configurator. This advanced tool allows us to create a detailed, three-dimensional representation of the room. Unlike traditional sketches, 3D configurators provide a realistic view of how furniture and decor will look in the actual space. This step is crucial for understanding how different elements will fit together and ensuring the design aligns with Camilla’s vision.
Step 5: Adding the Finishing Touches
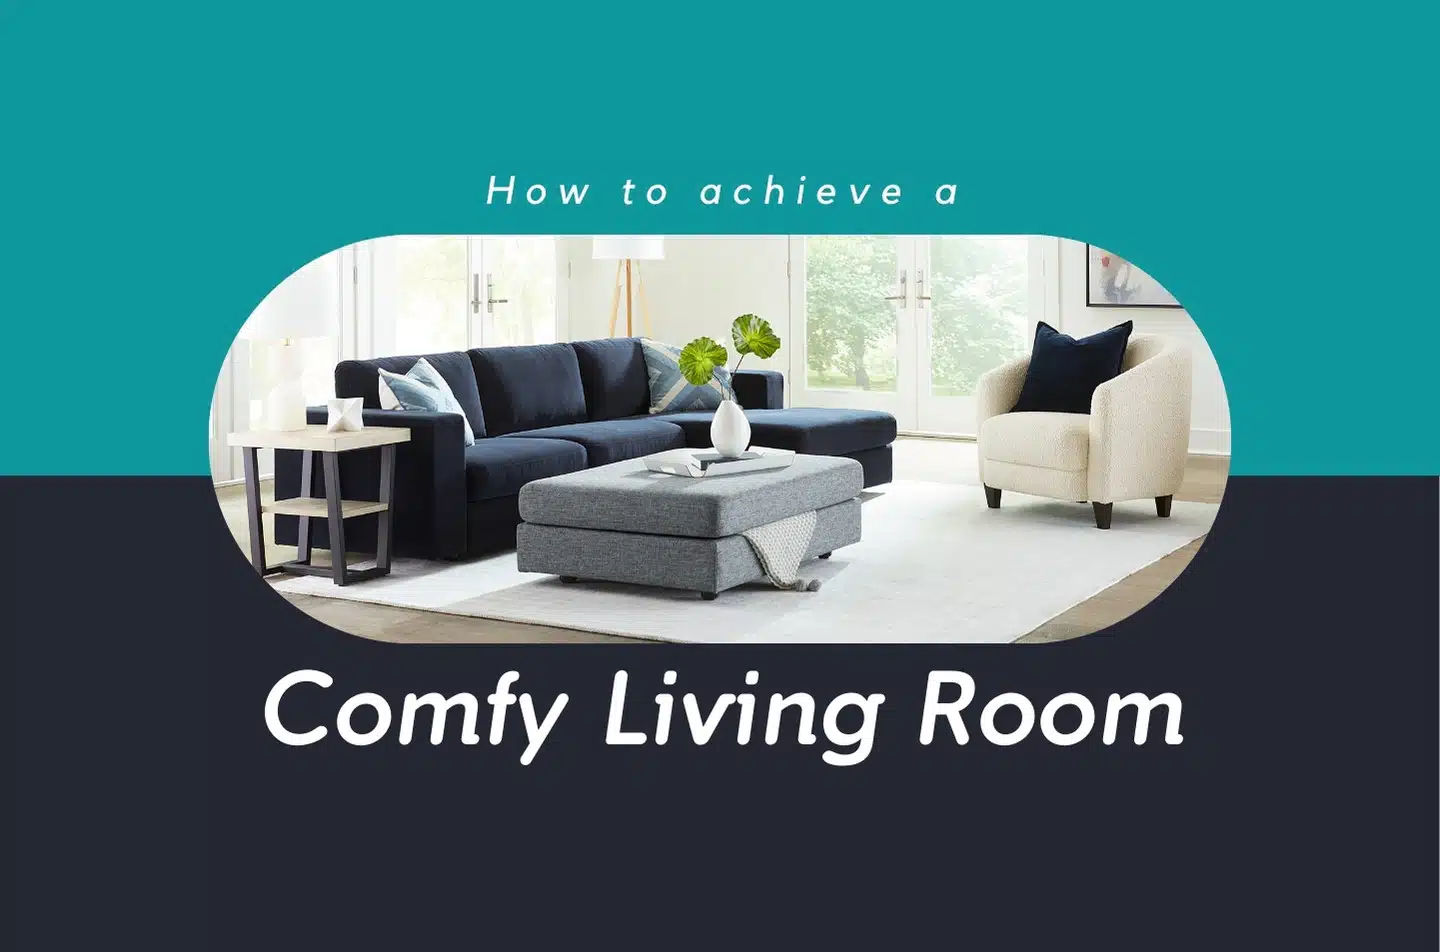
To complete the transformation, Sandra suggested adding a couple of carpets to tie the entire look together. The right rugs can make a significant difference in the ambiance of a room, and Sandra’s selections helped to unify the design, making the space feel complete and inviting.
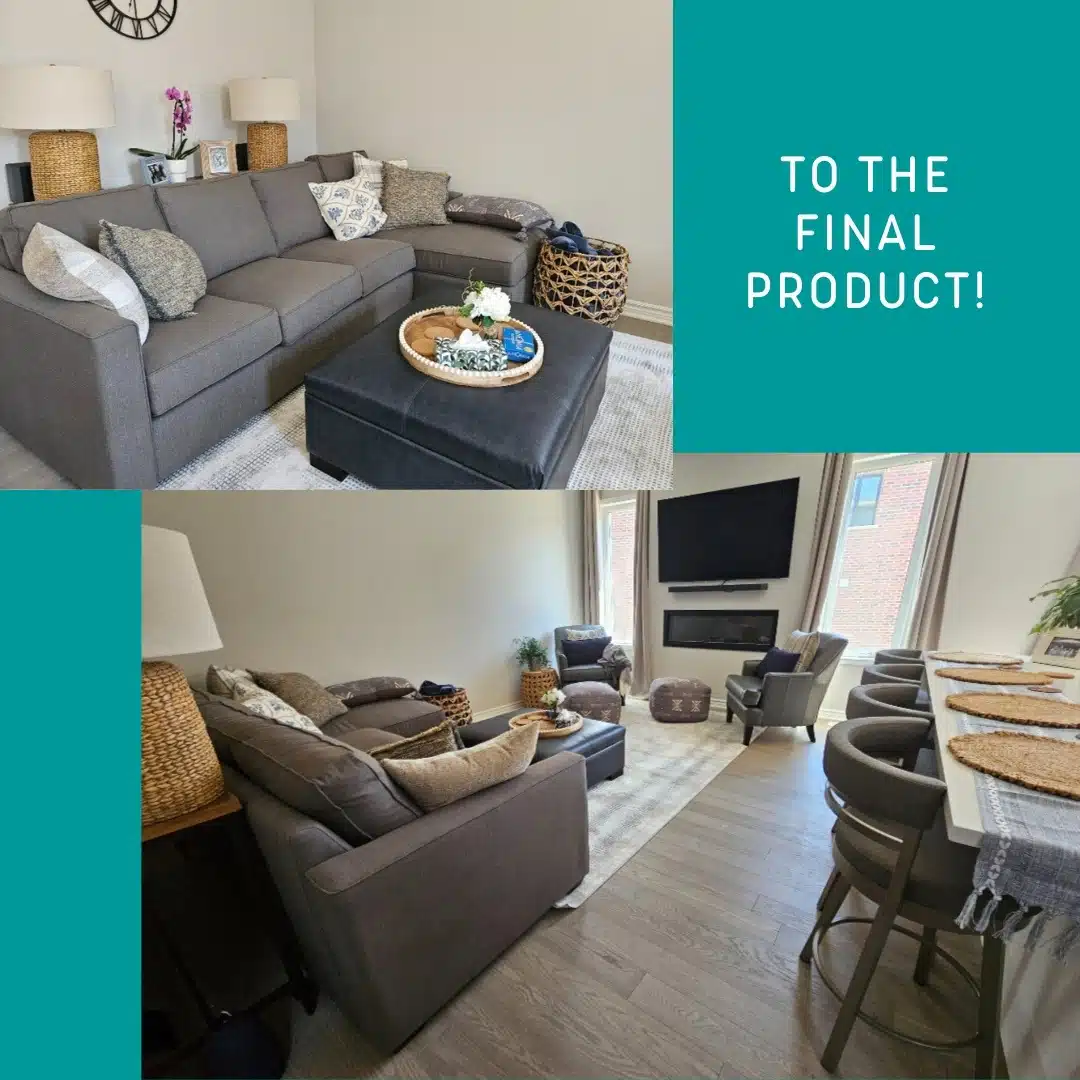
The Result
The final result was a beautifully curated space that perfectly reflected Camilla’s personal style. We’re thrilled to share the pictures of Camilla’s new home, filled with our furniture and showcasing how Sandra’s design expertise brought her vision to life. A big thank you to Camilla for sharing these wonderful images!
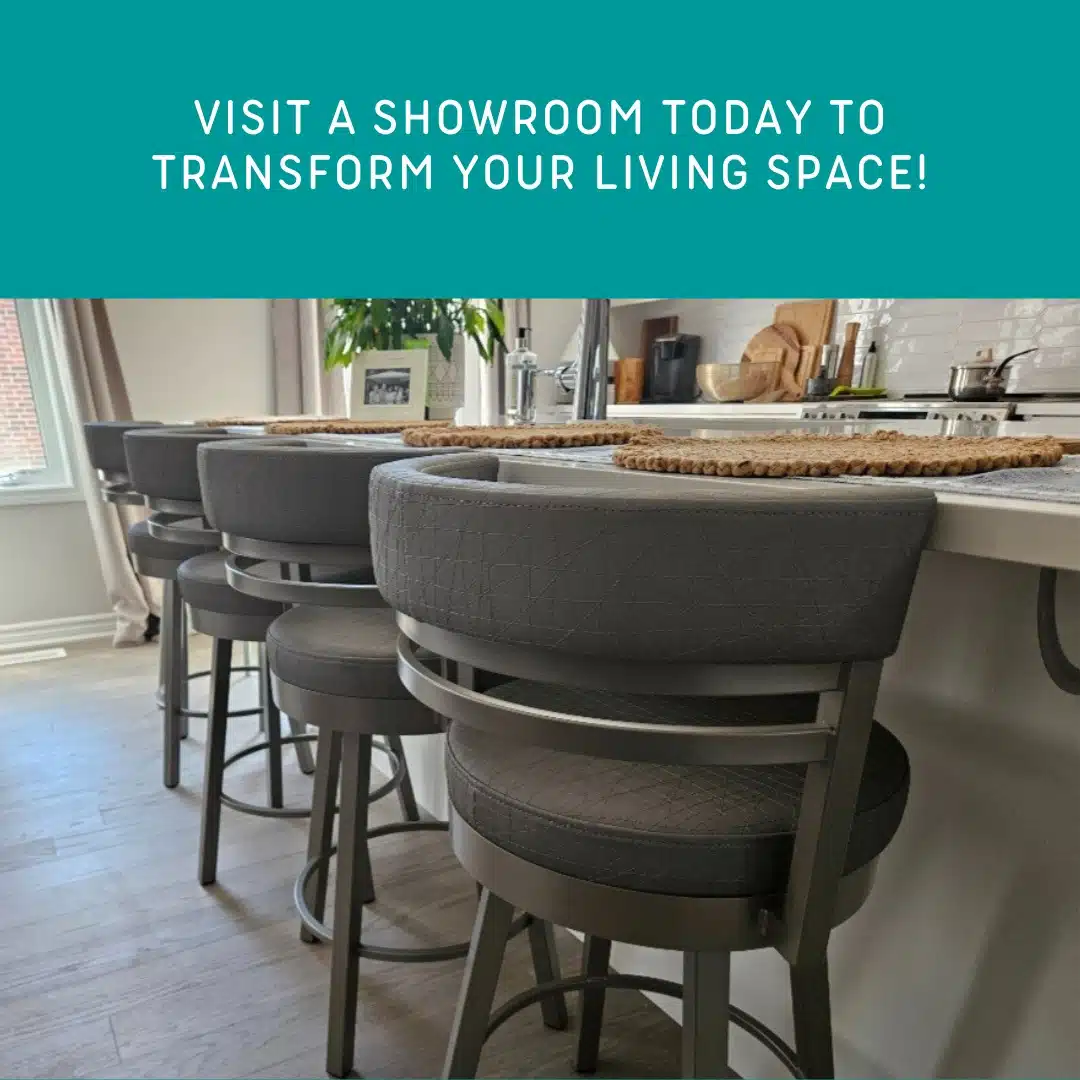
If you’re ready to embark on your own design journey, our team of consultants is here to help. From initial sketches to the final touches, we’ll work with you to create a space you’ll love.